Even some of the world’s most stunning architectural masterpieces need a little help getting gussied up for the camera. It’s not that the light in the room itself is bad, in fact, the designer most likely executed everything in the room around light. But, when it comes to the lighting within interiors, it can get tricky when the camera comes into play.
Any professional interior photographers knows this job is a lot more complicated than setting up the tripod and clicking away. In fact it’s not so much about your camera equipment as it is lighting the space in just the right way for the camera to pick up the best details while removing hot spots and shadows. To get the best image possible, most photographers combine techniques like natural lighting, flash, umbrellas, bounce techniques, LED light panels, then taking multiple photos with different combinations and mixing them together. It’s a ton of effort.
Now, let’s explore what makes architectural interior photography great and how the experts achieve spectacular images.
Why lighting is so important
Lighting defines a space, but it also defines moods — setting the tone, telling a story, illuminating the most important features. Within photography as a whole, lighting is probably the most important aesthetic trait, as it defines everything else within the frame. So when playing with lighting to tell the story of an interior, these same ideas need to come into play.
In commercial interior photography especially, lighting is everything. Most of the time, these interior photographers stray away from shadows and dimly lit spaces — looking to highlight the light, brightness and all the best features the architectural elements of the space have to offer. Without proper lighting, the photographer can’t get the architect or designer’s story across. And at the very least, they can’t portray a property in the best way possible to get it sold.
Always start with natural lighting
While we’re in the business of artificial light, we can’t deny the fact that natural light is the first thing any photographer should use to define a space. Open the shades, make sure nothing is blocking the windows — even use light flooding in from another room to illuminate your photo. The natural color that comes from sunlight is going to be your best friend, and best shot at getting that perfect photo since you’ll adjust all other lighting to mimic it.
Stray away from fluorescent bulbs and light fixtures
Unless absolutely necessary, you should stay away from using or turning on fluorescent bulbs in interior spaces during photography and in general. Certain bulbs, especially fluorescent, let off harsh or unnatural light that will muddy up the photo. The trick is to have shadows in the right places, but at the same time have a flat, natural looking light that floods the entire space. When you begin turning on different kinds of lighting fixtures within a space, you start getting new shadows and new light tones that you will have to manually correct later. And sometimes, it’s impossible to edit out.
LED’s, the next best thing for interior photography
In recent years, experts have been touting LED lights for their ability to mimic the sun and provide essential health benefits for your wellbeing. The materials within LED lights allow for fine adjustments of color, brightness and intensity — making it the perfect tool to brighten dark days, elevate moods, and light interiors in a way that mimics natural light.
One professional gave us the tip to always come with your own LED bulbs — that way, if you have to turn on a light or replace a dud, you have a bulb that’s going to produce lighting that works wonders for your photos.
Besides that, today, many designers and architects are already working with LED lighting for these very qualities — as the way it almost naturally lights a space is intrinsically appealing for anyone there. We’re even beginning to see LED lighting being used to mimic the sun as it rises and sets throughout the day — for example, using warm sunset-like tones to get you ready for bed.
But, besides using LED lights in fixtures, architectural interior photographers would benefit most from using an LED light panel. These panels can be bought in various sizes — attached to your camera or free standing — and adjusted to get the right light. You can make them warmer, cooler, even brighter and dimmer to perfectly emulate the rest of the natural light in the space.
Because of this, LED light panels become the ideal tool for lighting dark corners, brightening up a space, or to even get the perfect lighting on a cloudy day.
Bouncing the light
Light bounces off of surfaces, that’s how you can see everything around you. So, it only makes sense that if you want to perfectly light a space for your photos, you need to do a little light bouncing yourself. Using LED’s and speedlights with a combination of bounce and shoot-through umbrellas, you can blanket the space with just the right lighting. By having the lighting bounce across the room in all different directions, you get this beautiful ambient light that seems to be coming from nowhere and everywhere. On top of that, you should be shooting multiples so you can composite the different bounce shots into one seamless photo where everything is perfectly lit.
A final tip on light bouncing, avoid the traditional technique of shining a light on certain objects you want to highlight specifically. Use the bounce technique to get the light coming off the object just right, or brighten up a dim corner with a LED that makes it look like natural light is just flooding in. By using the bounce technique to illuminate the object and the space around it, you’re going to get a much more subtle and natural look.
Taking the photo is only half the job
After all that work and snapping your photo, you still have to take it back to the studio and edit it. No matter how well you lit that space, your pictures are going to need adjusting. We suggest starting by looking at your photo and determining what the brightest thing in the space is — like a window, or a light. From there, you can begin adjusting the lighting for the rest of the space accordingly.
Also, be sure to take the best elements from your different shots of the space and composite them into one final, perfectly lit photo. By using the bounce effect to light a room, you can now pick and choose the best elements and the best conditions from each photo to create a stunning image that tells the story of the space. Because that’s what it’s all about, right?
Alcon Lighting creative director and co-founder David Hakimi works to improve lighting through research, development and education. David strives for efficiency in lighting, affording architects, lighting designers and engineers the ability to maximize LED lighting design and application. David is a graduate of the University of California, Los Angeles, where he received a Bachelors in history. David also studied lighting design at IES in Los Angeles. He traces his and Alcon Lighting’s commitment to innovation, accountability, quality and value to lessons learned from his father, Mike Hakimi, a lighting craftsman, salesman and consultant in Southern California for more than four decades. Today’s lighting for commercial use requires a deep, complete understanding of smart lighting systems and controls. David takes pride in his lighting, energy controls and design knowledge. He is driven by the desire to share his insights into lighting specification and application. This quest to share his knowledge was the impetus for David to create Insights, Alcon Lighting’s blog and resource center for helping the reader understand lighting and its application to space.

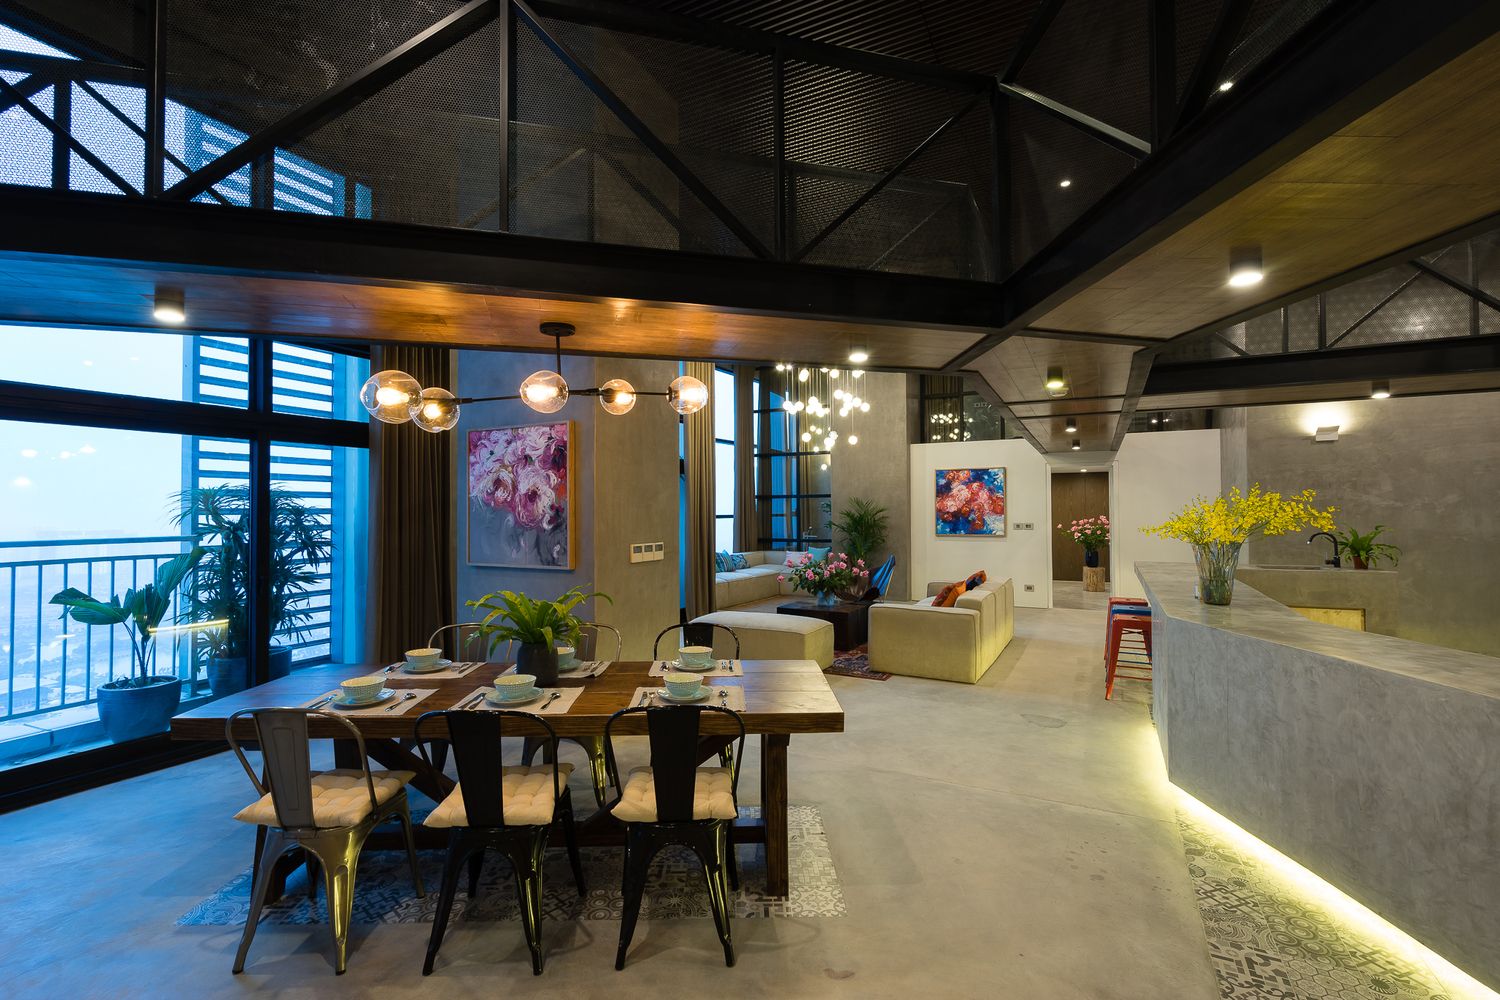
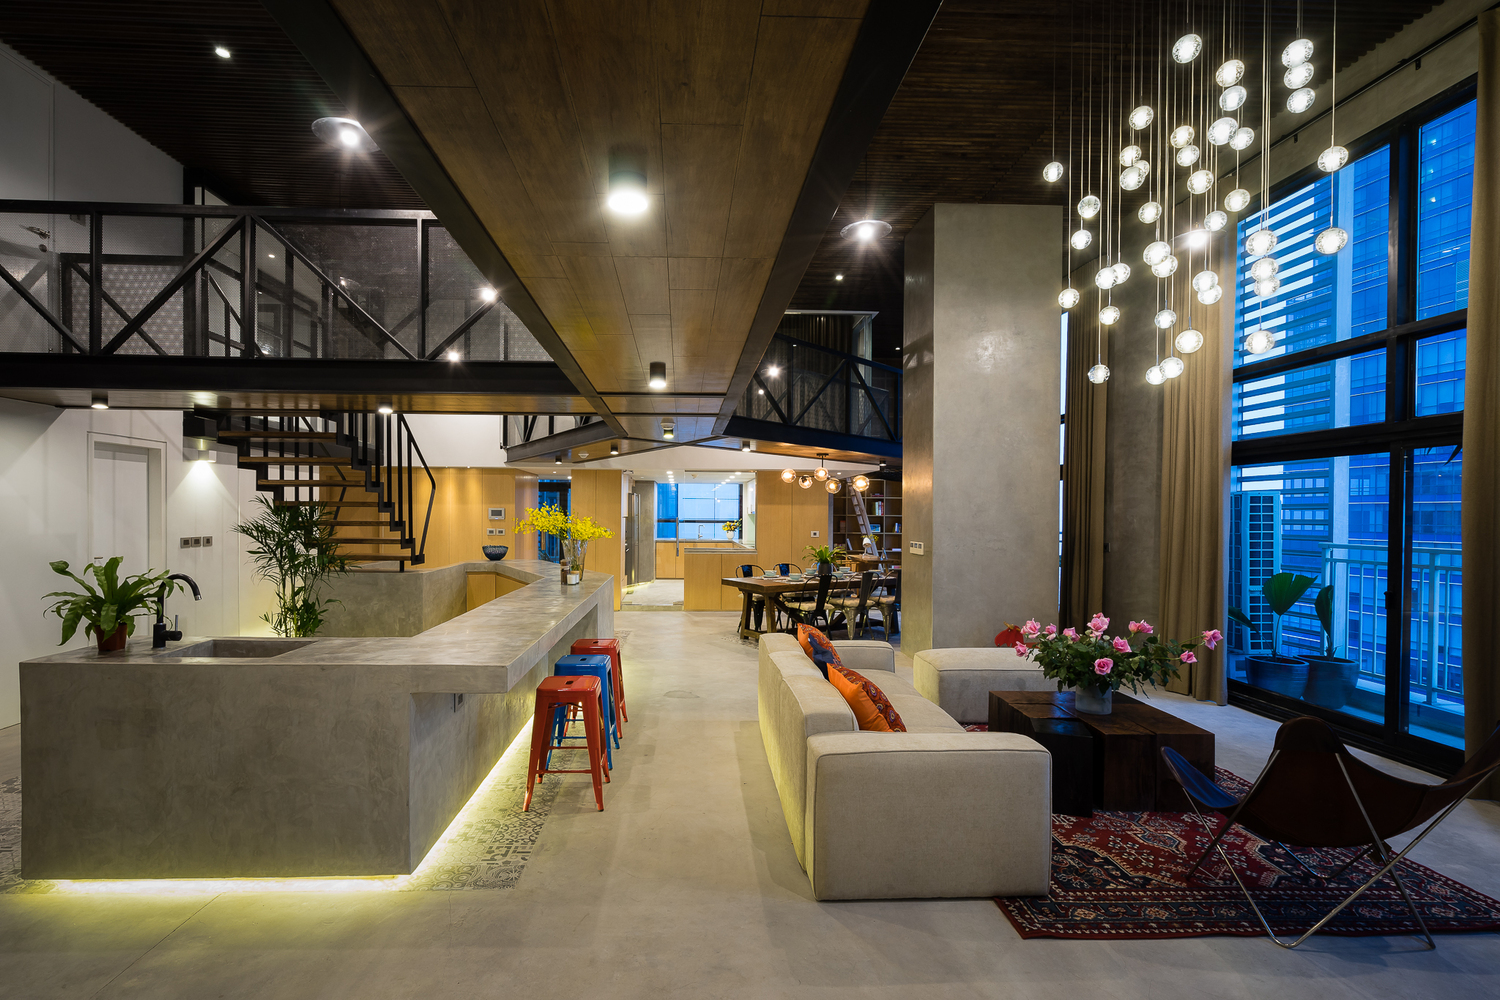

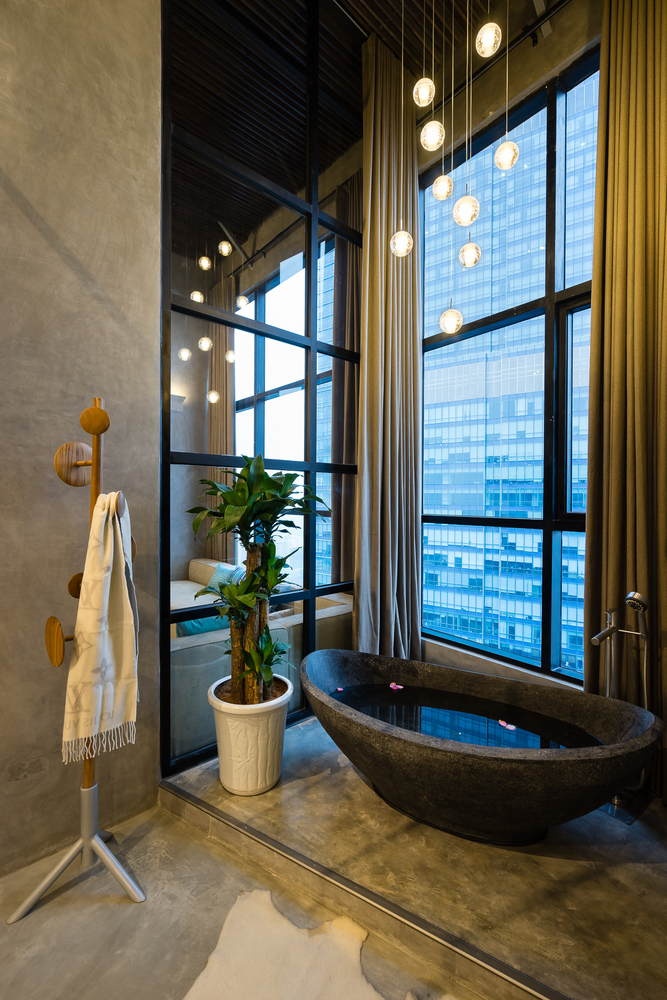


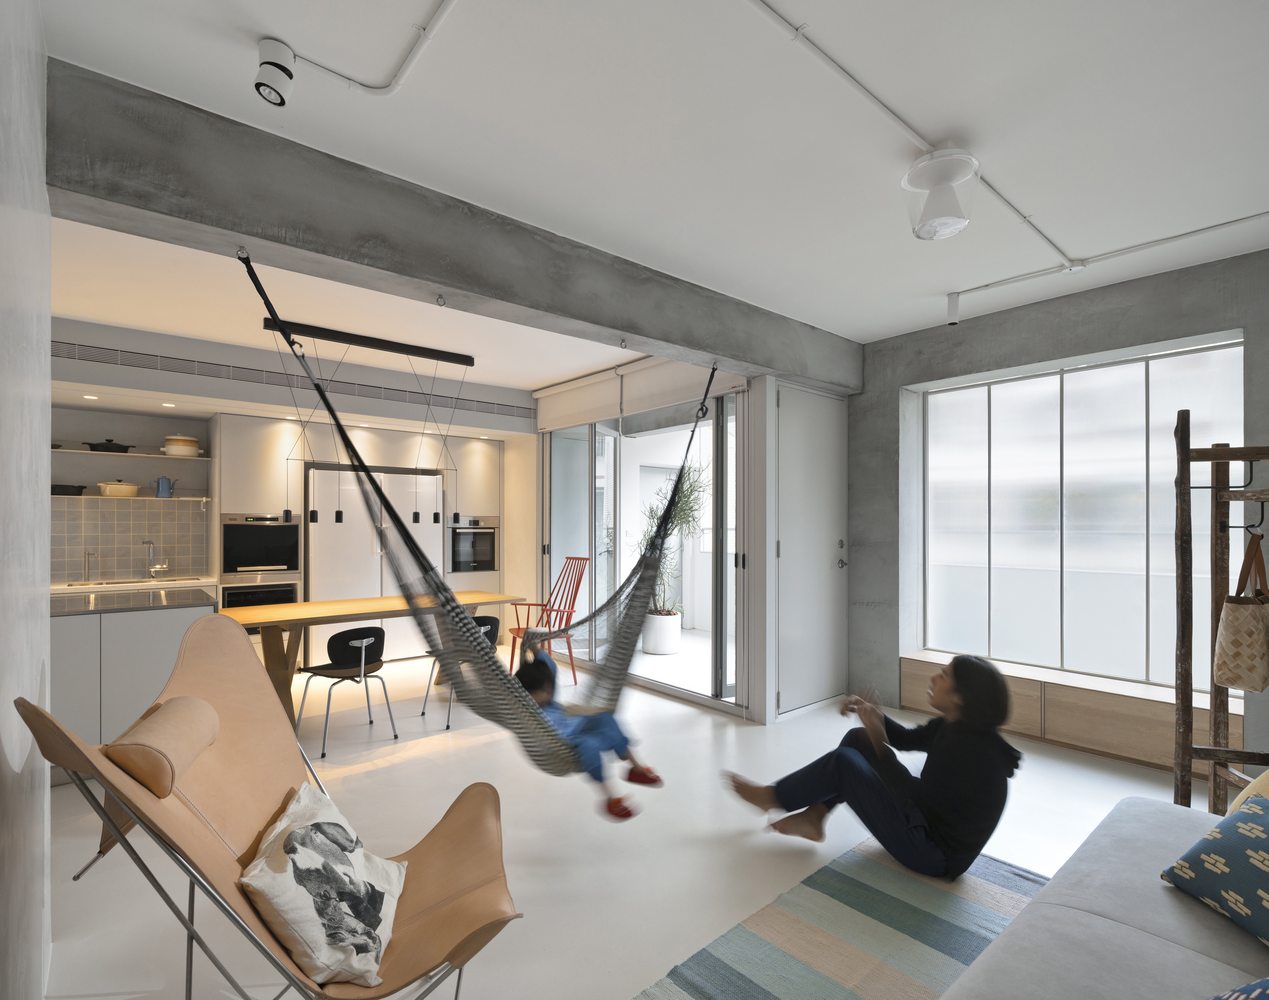

[…] Mastering the interplay between natural and artificial lighting is pivotal in interior architecture photography. Study how sunlight interacts with the space throughout the day, then shoot during the golden hour for a soft, warm glow. Use diffusion like sheer curtains to soften direct light, and leverage reflective surfaces to… Read more »